
Give your Drawing a Soft, Dreamy Look

Sometimes all your piece needs is a little extra magic to make it feel soft, glowing, and ethereal.
Here’s a super quick and easy way to do it — perfect for portraits and gently lighting scenes!
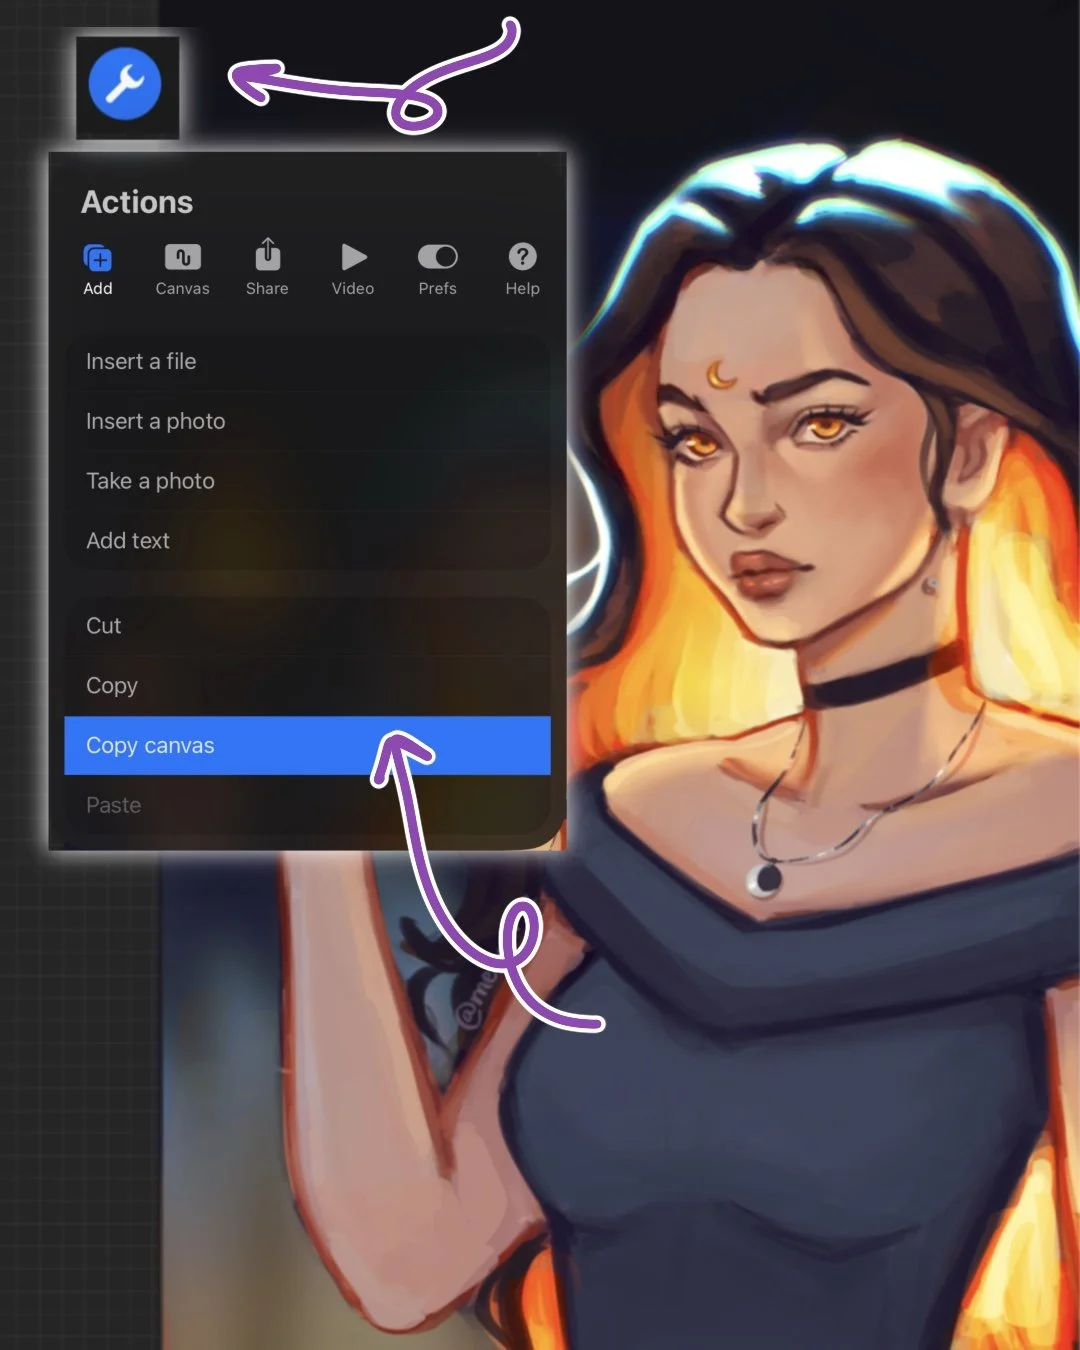
1. Copy and Paste Your Canvas
Once your illustration is finished:
Tap Actions > Add > Copy Canvas, then Paste.
Keep this duplicated layer above all your layers — this is the one we’ll edit for that dreamy effect.
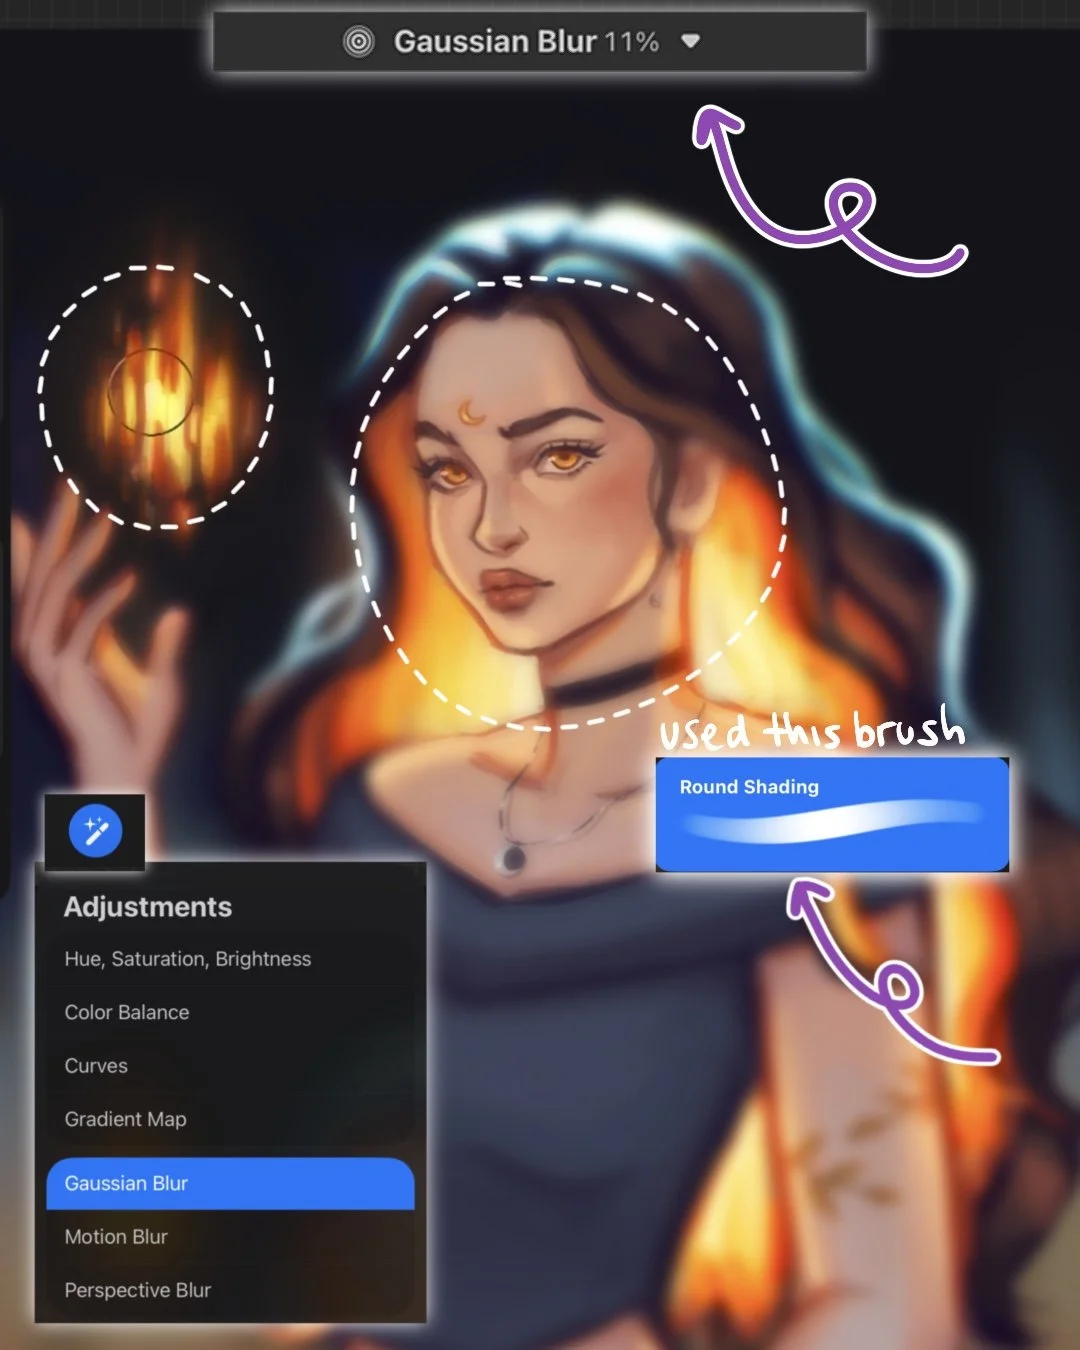
2. Add Gaussian Blur
Head to Adjustments > Gaussian Blur > Layer
and slide your Apple Pencil or finger until around 11%.
Now, grab your eraser and lightly erase areas you want to stay sharp and in focus.
For this illustration, I erased the face, chest, and hand area to keep them crisp.
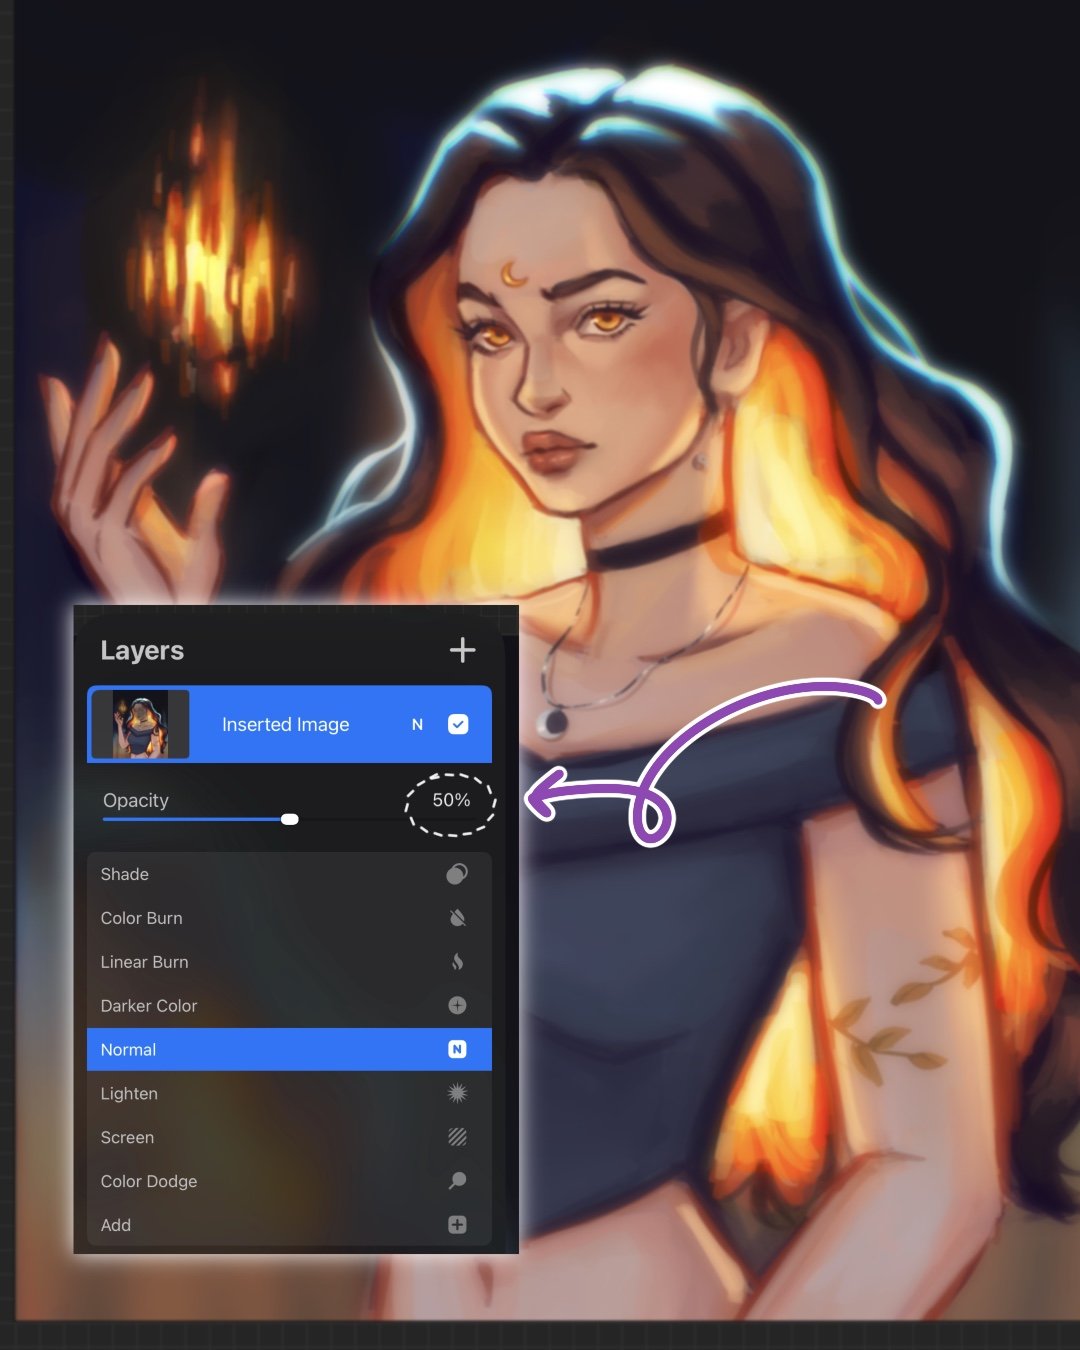
3. Adjust the Opacity
Lower the blurred layer’s opacity to your liking.
I usually keep mine around 50%, but you can tweak it depending on how hazy or soft you want it to look.
This already gives a beautiful, gentle glow — but we’re not done yet. 👀

4. Add Chromatic Aberration for the Magic Touch
Go to Adjustments > Chromatic Aberration > Perspective
and make sure the little circle indicator stays in the center of your drawing.
Slide to 20-30% — you’ll start to notice the colors separating slightly, especially along the edges.
🩵 What it does: Chromatic aberration mimics how camera lenses bend light, slightly splitting the RGB channels. It gives your art that dreamy, lens-blur feel — like looking through a hazy prism.
Once done, feel free to experiment with layer modes, though I kept mine on Normal for this one.
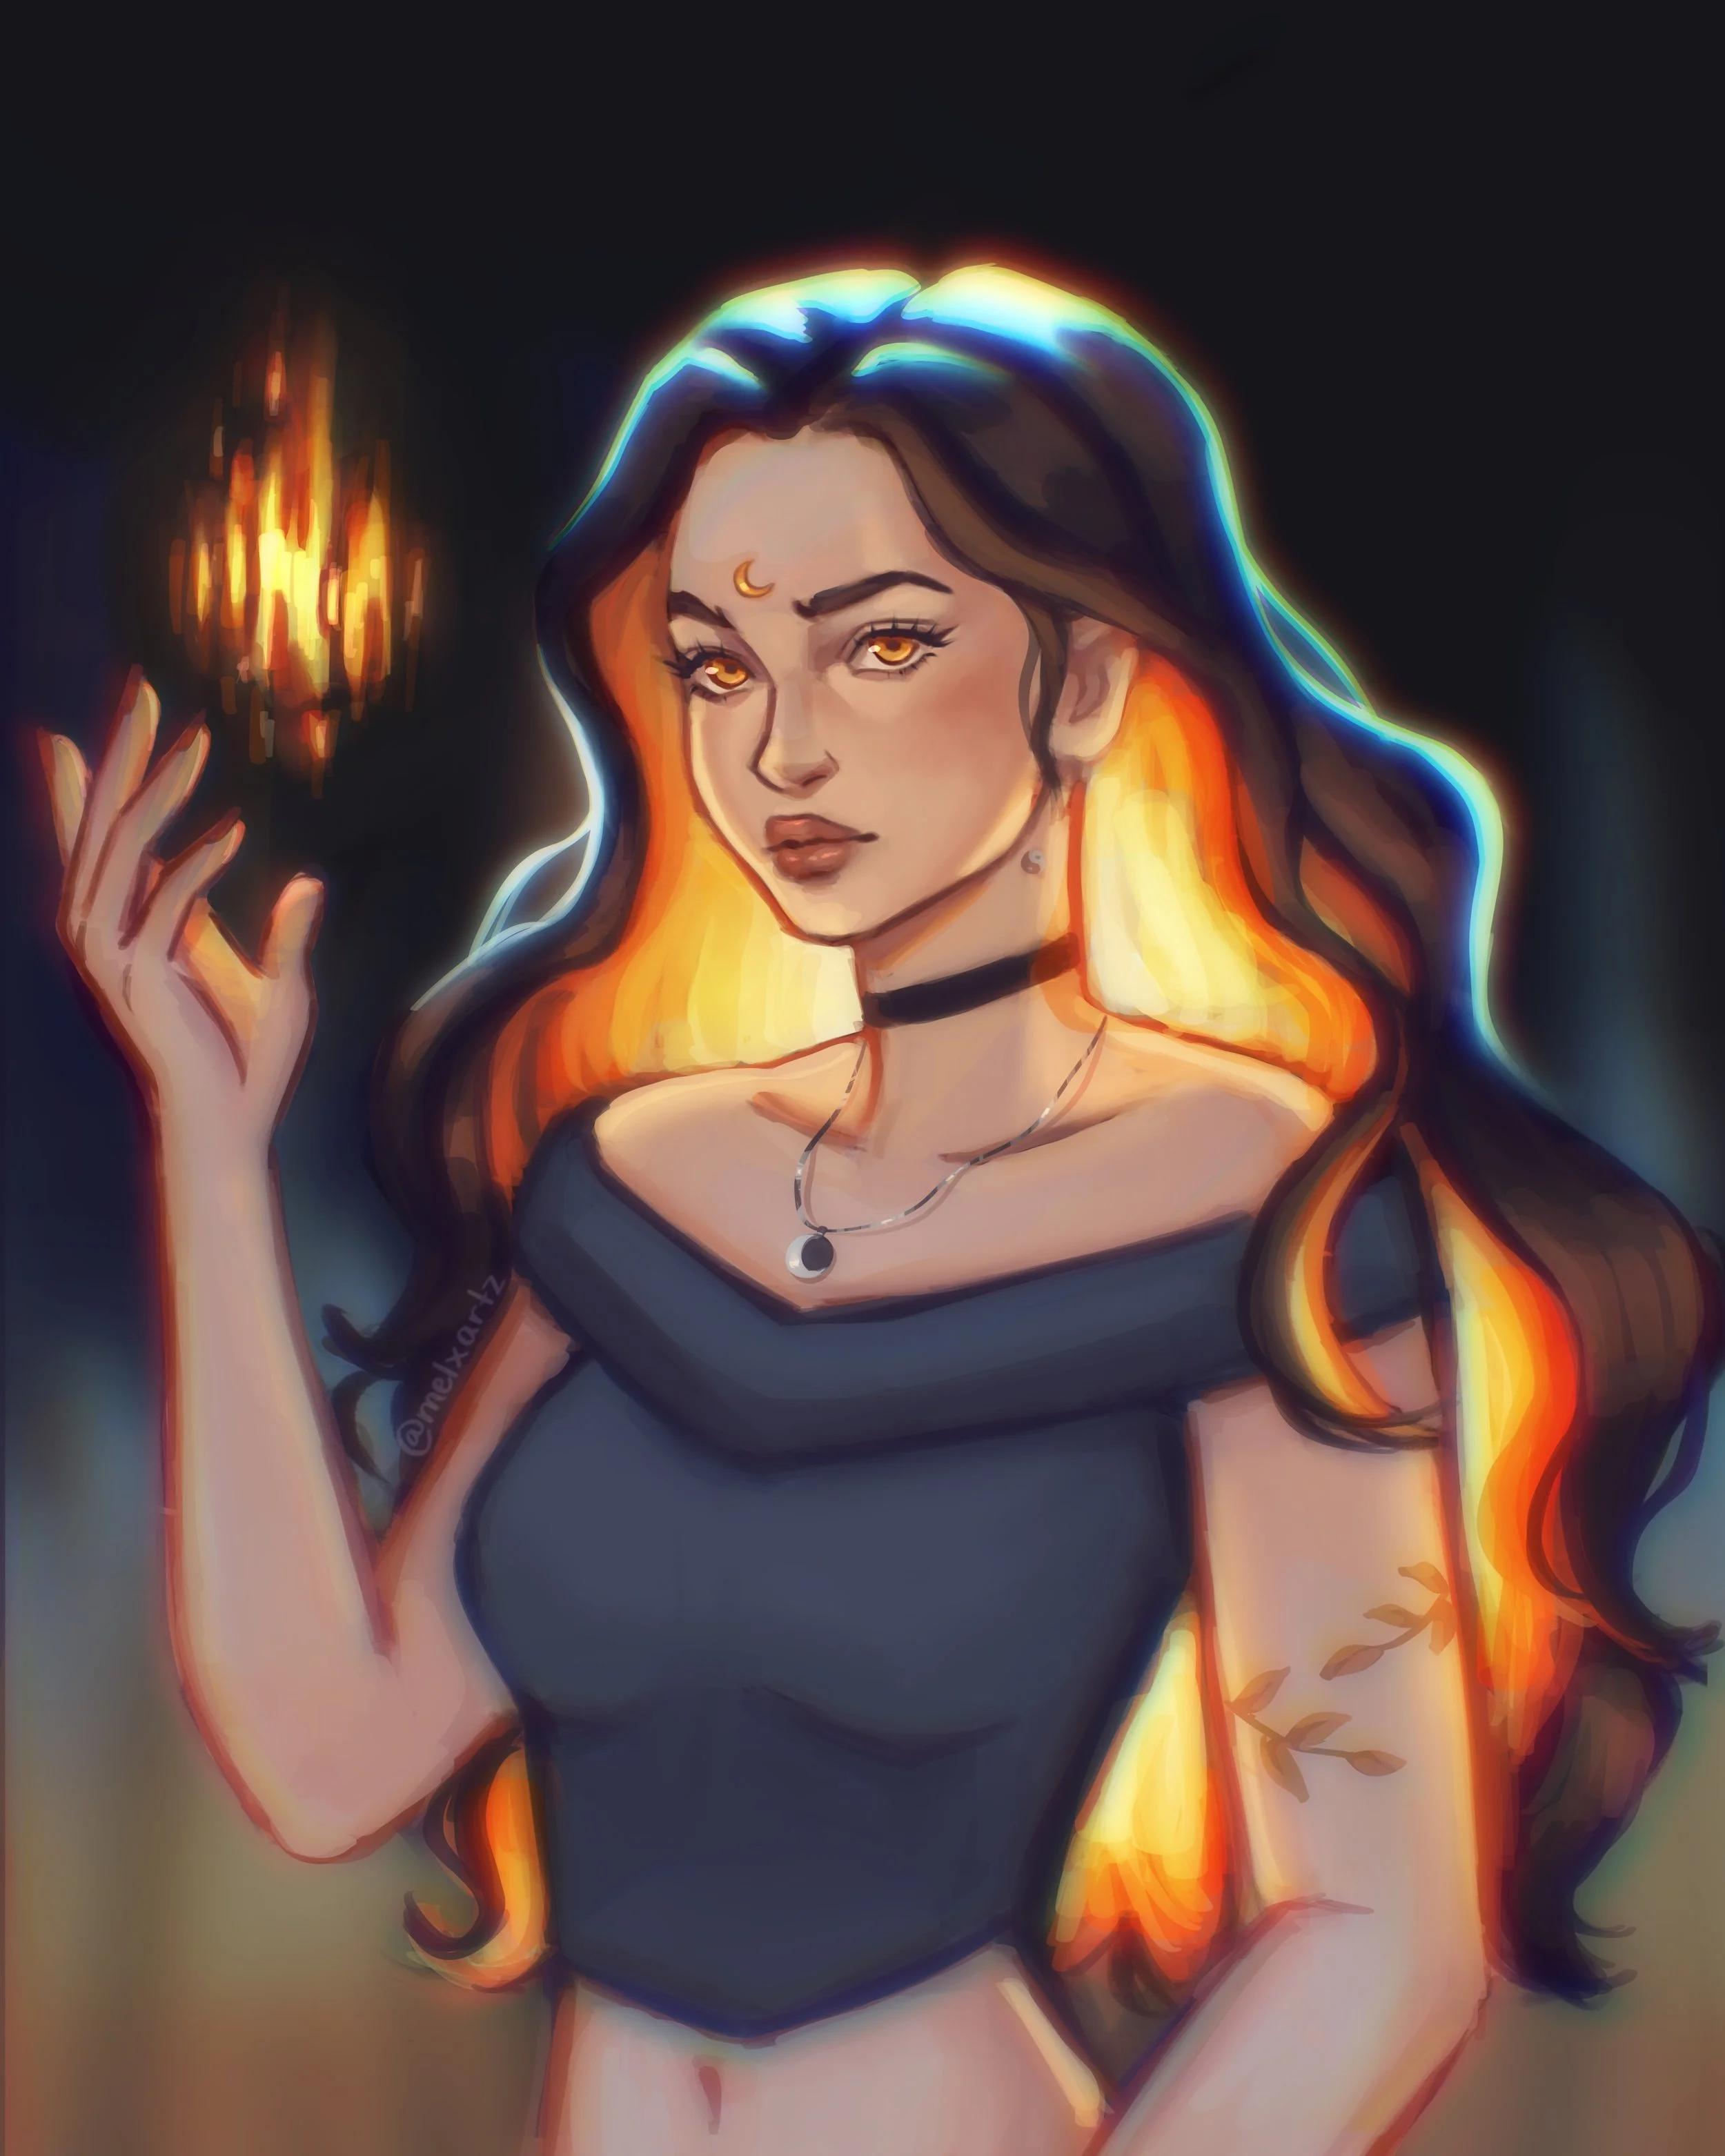
You’re Done
That’s it — a simple but powerful trick to give your finished piece that soft, hazy, and ethereal vibe.
Perfect for dreamy portraits, fantasy lighting, or gentle storytelling scenes. 💫
Enjoy the glow!

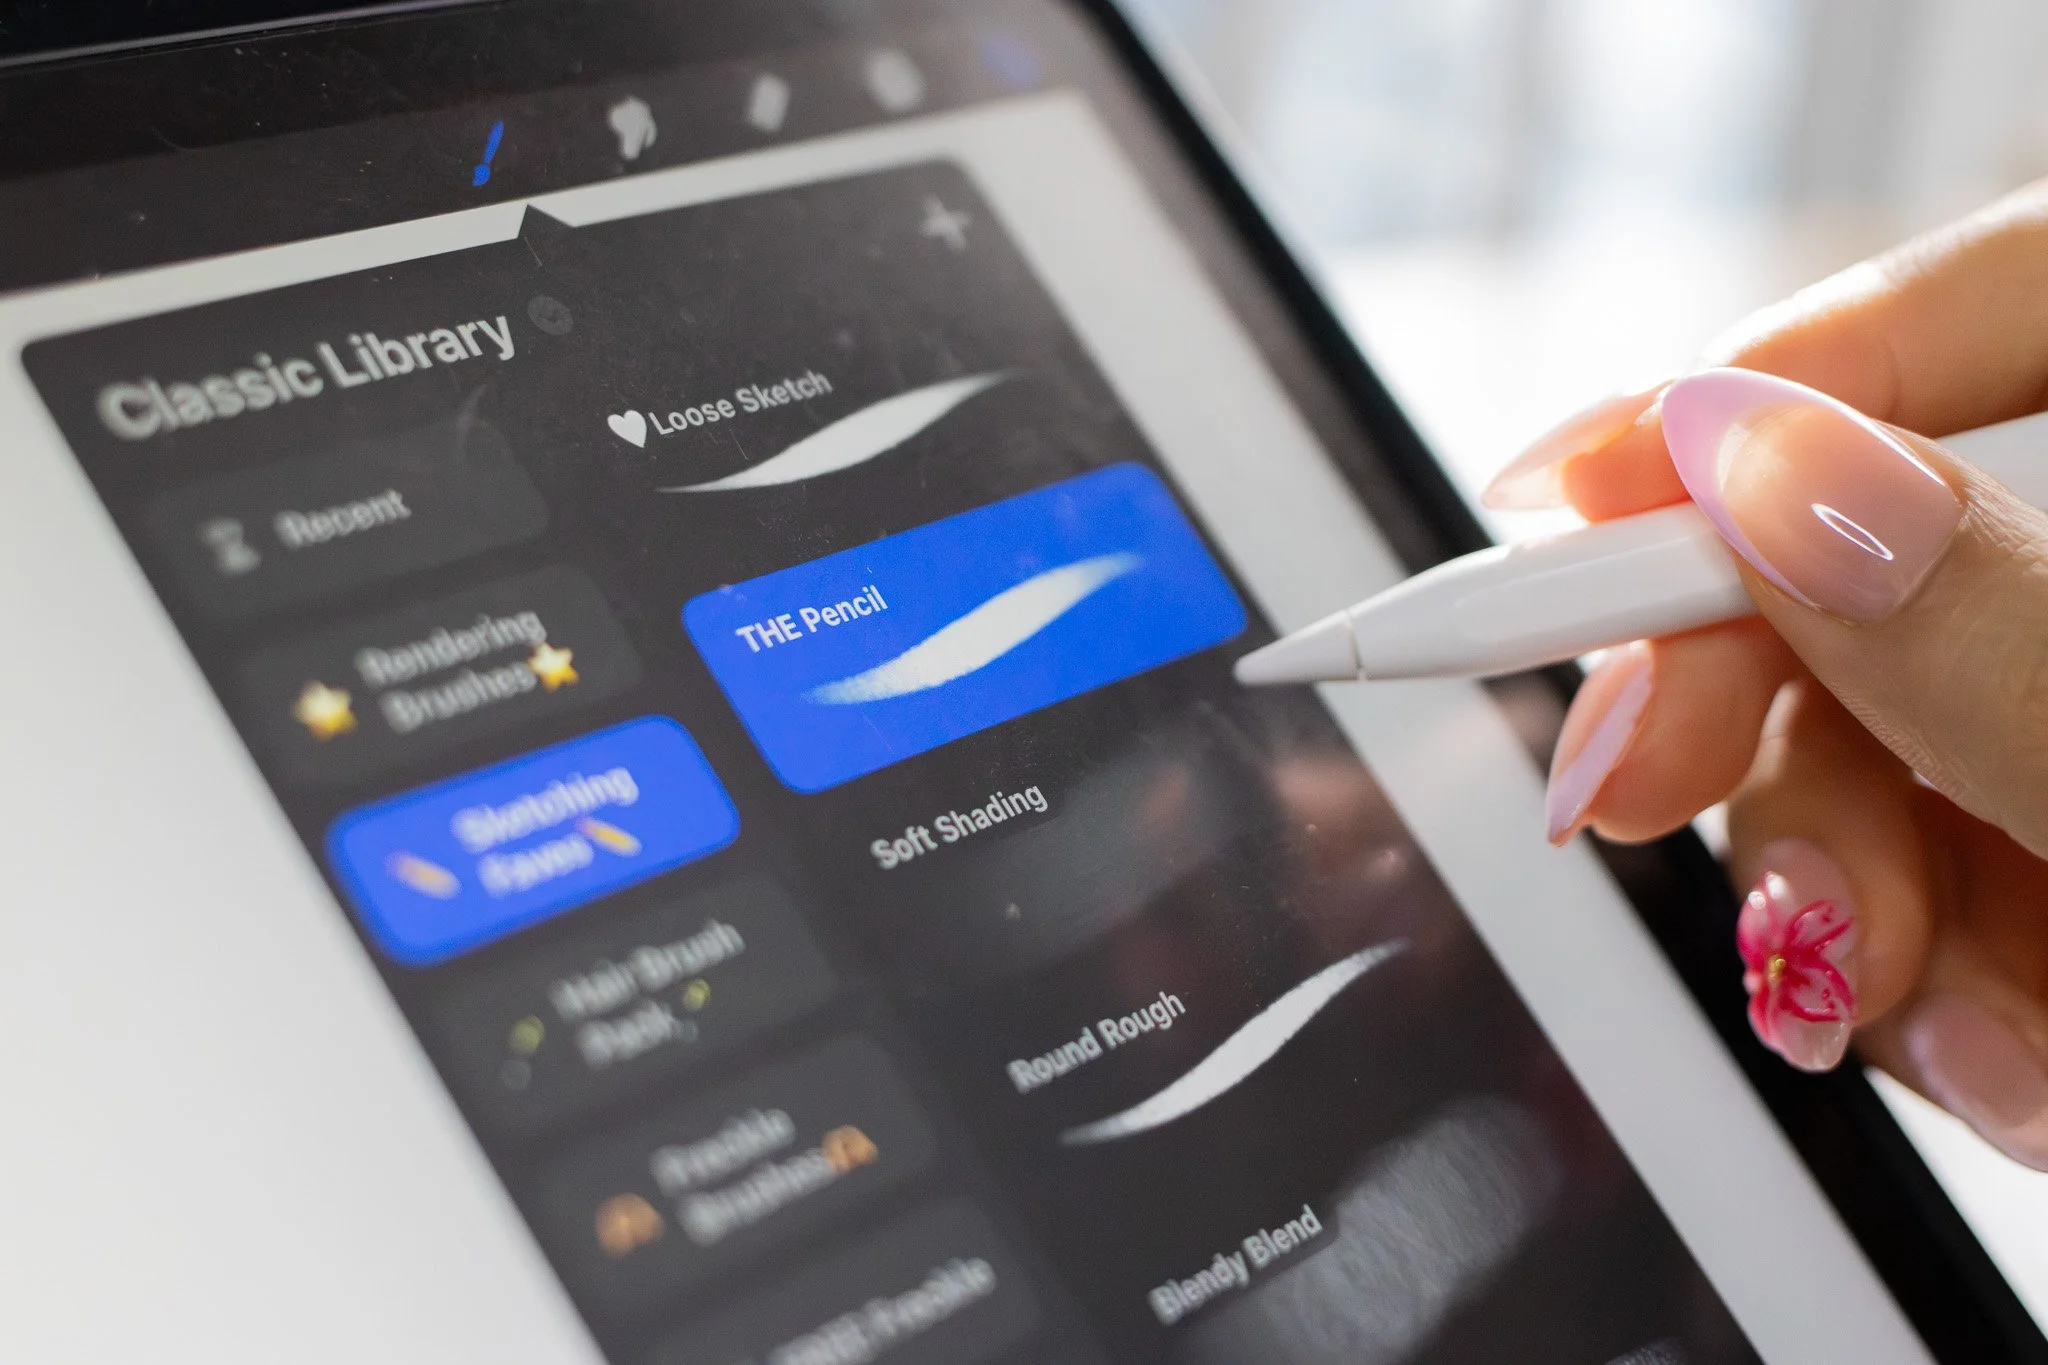
🖌️ Brushes used
Round Shading Brush -
Rendering Brush Set
✨Here is a little before and after:

🎨 Want to learn more about lighting?
Check out my Lighting Tutorial on YouTube for a full walkthrough on how I approach different lighting scenarios! You’ll see how I layer everything in real time and add lighting in Procreate.
Watch the tutorial:
Subscribe to my email newsletter to receive your 5 free procreate brushes, plus occasional updates and resources from me!
Check Out My Latest Youtube Video!